Case Study#4b: Photogrammetry and Memento

I have been taking a lot of photos lately to test different photogrammetry software, and sometimes I feel that the results is better than it should have been since I usually shoot from my hip.

One of my favorite programs is Memento from Autodesk that is a really great software. Memento is in Beta mode but has the tools you need to generate a mesh/pointcloud from your pictures. The interface is really great and it is easy to use.

It has some issues with Z-direction and scaling when you export it, but hopefully they will fix this bug shortly. It is also frustrating that it is not possible to import the mesh into Revit. Therefor you need to export the model as a pointcloud to import it to Revit, and that is a pity. It would have been great to use the mesh to create sun study for instance, or to create the surroundings to your project. This is not a Memento problem. It is a Revit problem.

Remember to import your cool models into Sketchfab so you can show them to your colleges or embed them into your homepage (if they support it…) 🙂

https://sketchfab.com/models/c82a09bf9b254a14a37270a9f720ccbf


Revit Training#1: Pointcloud and coordinate system

One of the questions I get a lot, is how to set the coordinate system in a project and how to import the pointcloud at the correct position.

There are several ways of doing this, and it is up to you to find your best way. The video gives an introduction of the consepts:

  • importing a DWG that has world coordinates
  • setting up two coordinate system (one with real world coordinates and one internal)
  • importing pointcloud that has the same 0 point as the internal coordinate system

No Autodesk A360 Collaboration for Revit outside of North America

I am going to work on a project together with an architect that is located far away from where I am located, so I have been trying to find a good solution how to work together on the same Revit model without too much hassel.

I hoped that I could avoid setting up a server, and wanted therefor to try use the A360 service. I soon understood that I needed the Autodesk A360 Collaboration for Revit subscription, but when I tried to buy it I was forwarded to the European Autodesk site. Here I did not have an option for subscribing this service.

I talked to the Autodesk staff and understood that it was only available in North America and he did not know when it was going to be released outside North America.

Revit Gunslinger Shanghai 2014

I have just returned from an excellent trip to Shanghai where I attended my first Autodesk Revit Gunslinger event.  We were in total 16 Revit enthusiasts from around the world and we tested new Revit features for four days. The event was superbly organized by the Autodesk team and we had a great time!

DSC08156

The Gunslingers and the Autodesk team

P1040345

Shanghai by night

RTC EUR Dublin (2014)

Last year I attended Revit Technology Conference (RTC) in Delft and I had a great experience. It was a compact and small conference, high quality lectures, and it was well organized even thought it was the first time they arranged a RTC in Europa. The same qualities seemed RTC in Dublin to share. The lectures I had signed up for looked promising, the city seemed to have a lot of atmosphere, and they had increased the length of the conference with one day. So this time I had high expectations, and from my office, Dark Architects, we sent 7 architects in total to this conference. That is 13% of the entire office, so I really hoped that they would not be disappointed.

gruppe

From left: Thomas Benedict Holth, Håvard Vasshaug, Kaja Kittang Kvande, Lars Ribbum, Vilde Aspen, Arne Folkestad Bjelland, Ricardo Sousa

As usually the conference started with Chairman’s Introduction & Keynote Presentation and it was a great start. Especially when Paul Doherty from «the digital group» took the stage, and talked about how the digital technology would change the world in the future. He explained the value of making big data understandable and available in a live context. He used examples on how firemen could use BIM technology together with other information that was available in the area, showed us a new Google project called Flux.io, and he showed us how they are testing robots in the states to do surveillance in kinder garden. One of many tasks the robot is going to perform is to report if a child is going towards a car that is suspicions based on face recognition and by scanning number plates. In fact, his vision of the future made me nervous and uncomfortable regarding the many issues regarding surveillance and privacy. And then, his last example was how Watch_Dog We are big data collect and visualize the absurd amount of information that is already open and available on the web.

j

Paul Doherty from «the digital group»

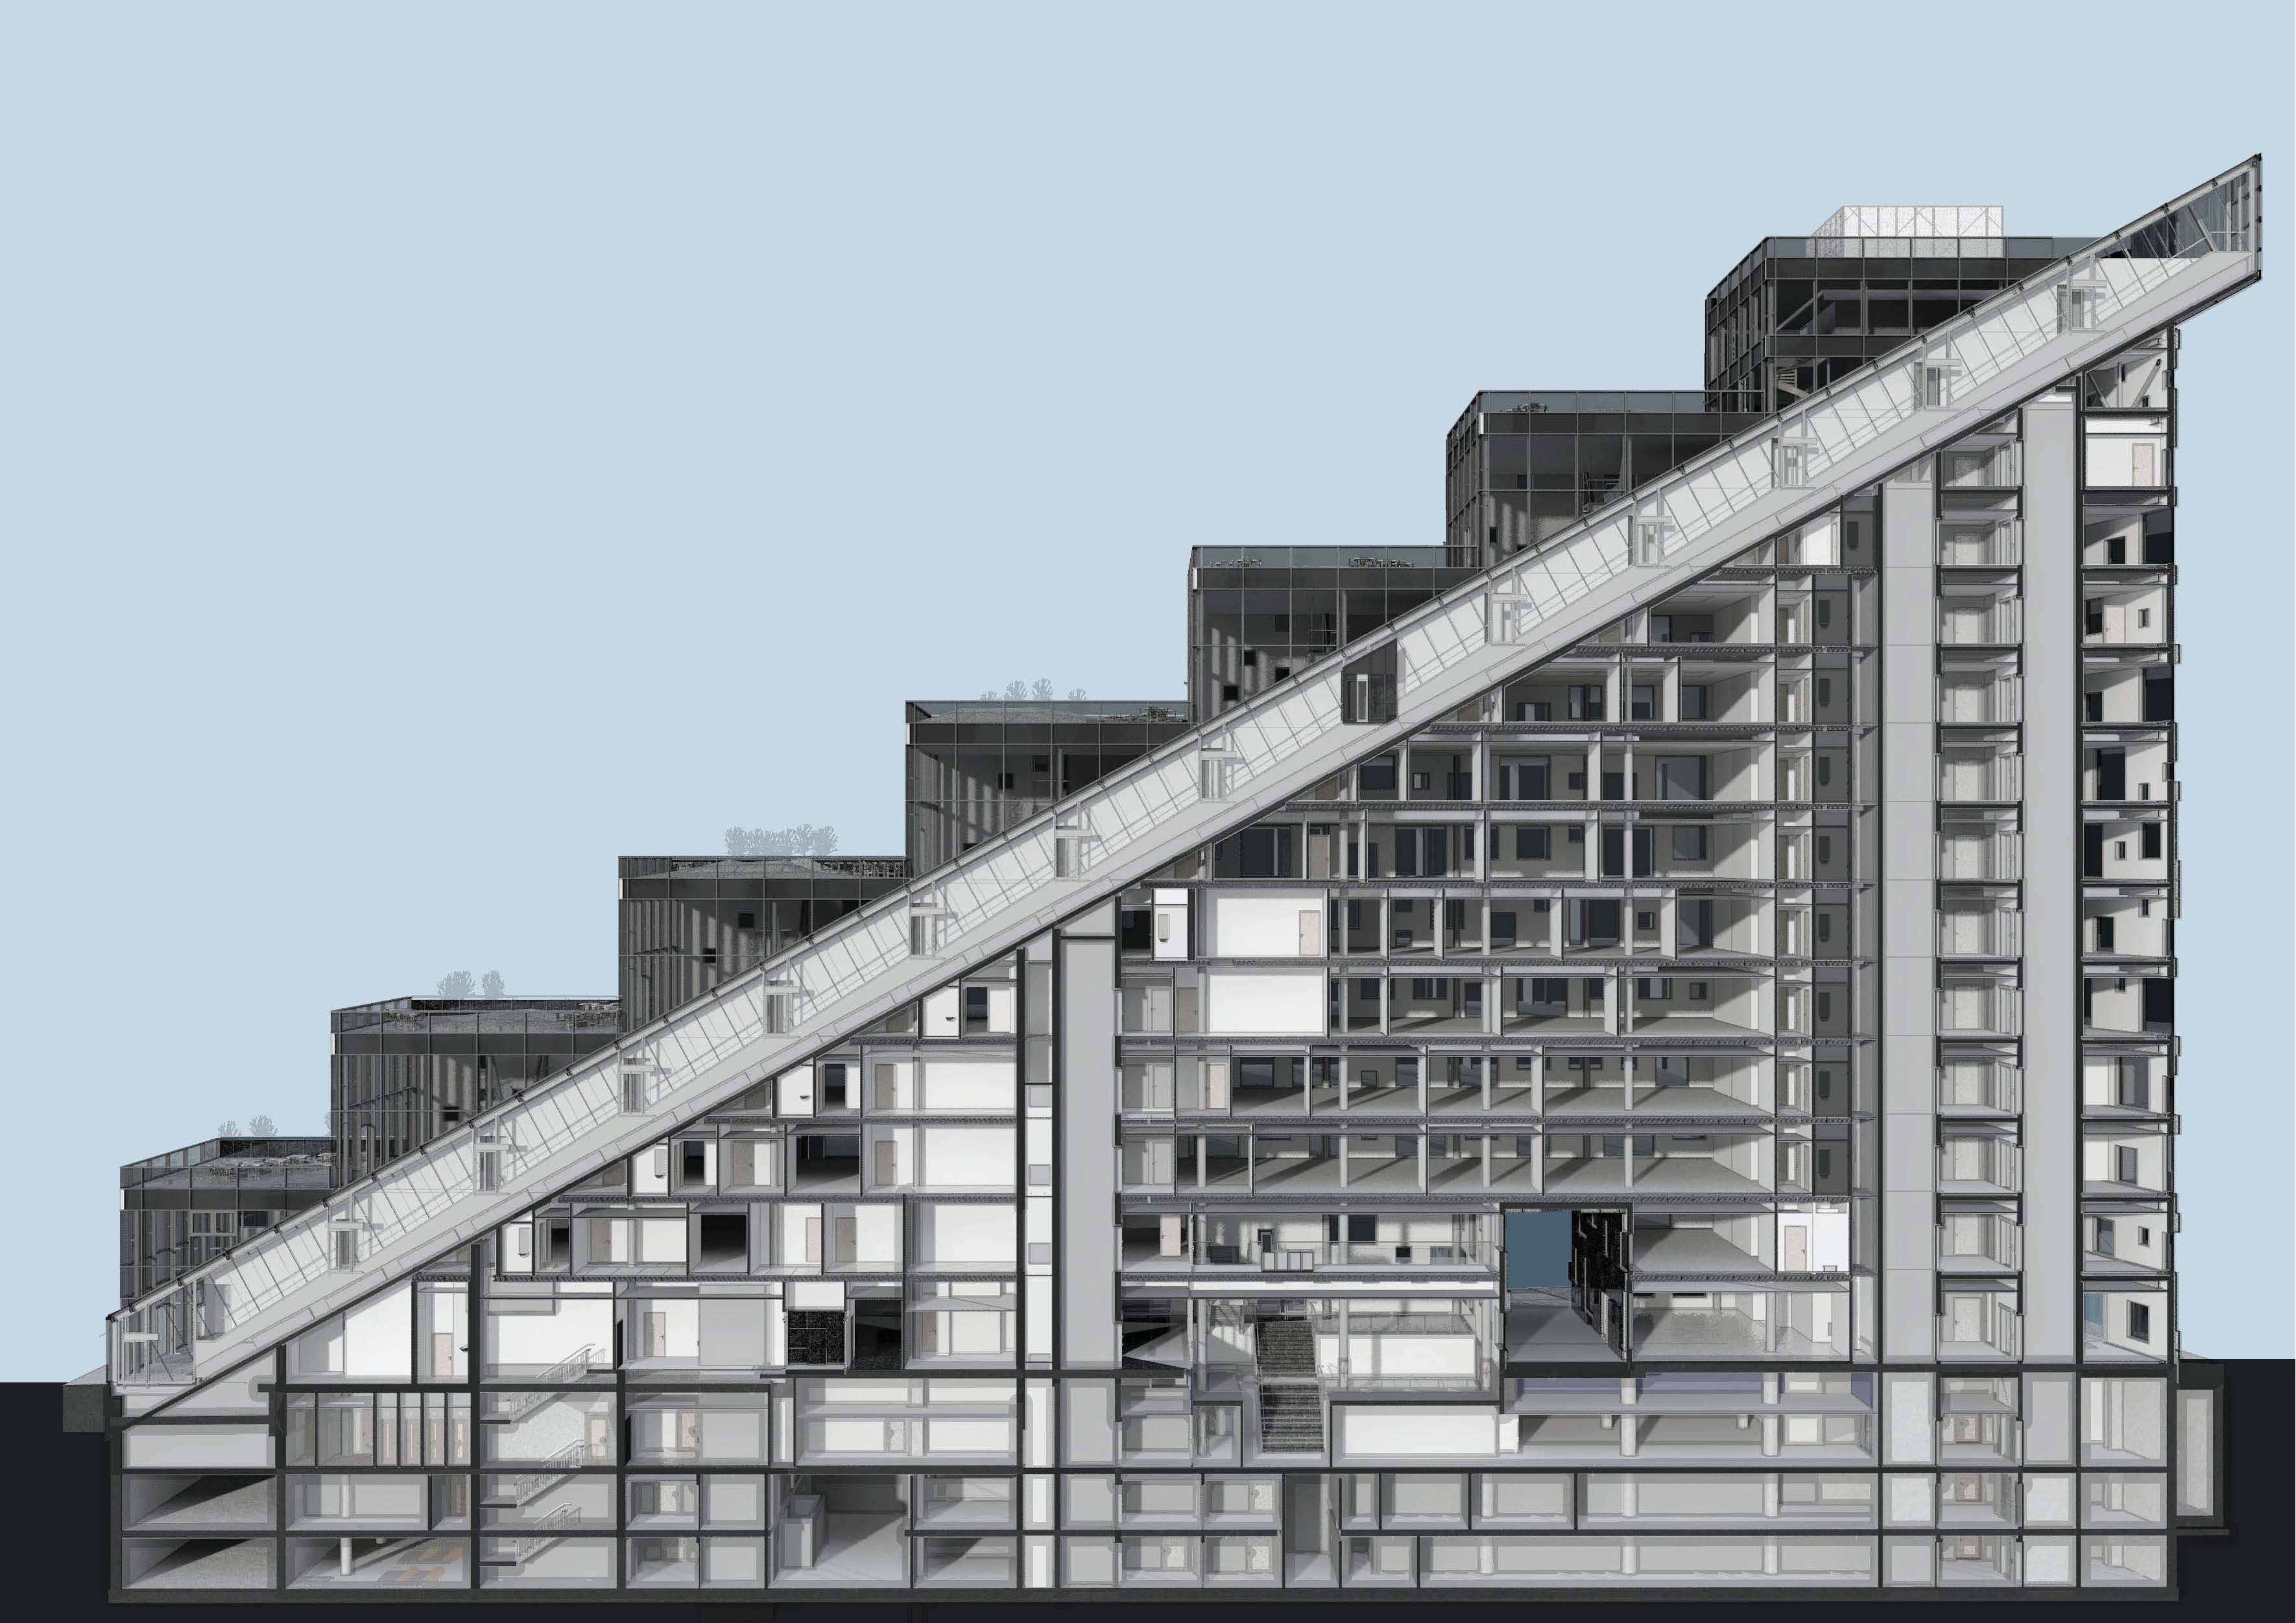
Wow, is this how we want to use technology in the future? Is suddenly the movie «Transcendence» I saw on the plane to Dublin not that far off after all? One of the best speakers last year at RTC in Delft was Kelly Cone where he explained how Beck Group used 3D scanning in a project. This time he titled his lecture “Drawings? We don’t need No Stinkin’ Drawings” and he explained actually how much it costs in time to produce and maintain a drawing. In a recent project the Beck group tried to reduce the number of drawings to a minimum. They started listing 169 sheets of drawings they normally would produce, but by asking the consultants what they actually needed of information; they reduced it with 98 sheets. That is a lot of money saved.  He then continued talking about model based fabrication and briefly talked about how this would impact the industries. Next speaker was Julien Benoit with “You can count me like one, two, three, I’ll be there”. The best part was his explanation of the power of using parts when making schedules and how he used Dynamo to import and export information to building elements in the model. That we all like it sexy was how Jay Zallan approached the importance of making a well modeled BIM model. And from there Anthony Hauck from Autodesk took the stage and talked about the visions Autodesk have for Revit and other application. He made it clear that Revit should be seen as a client that not will do everything, but rather be seen as one of many tools in the ecosystem. He also demonstrated a couple of cool new application like A360 and project Akaba. I am looking forward to testing out these tools soon.

sdf

Anthony Hauck from «Autodesk»

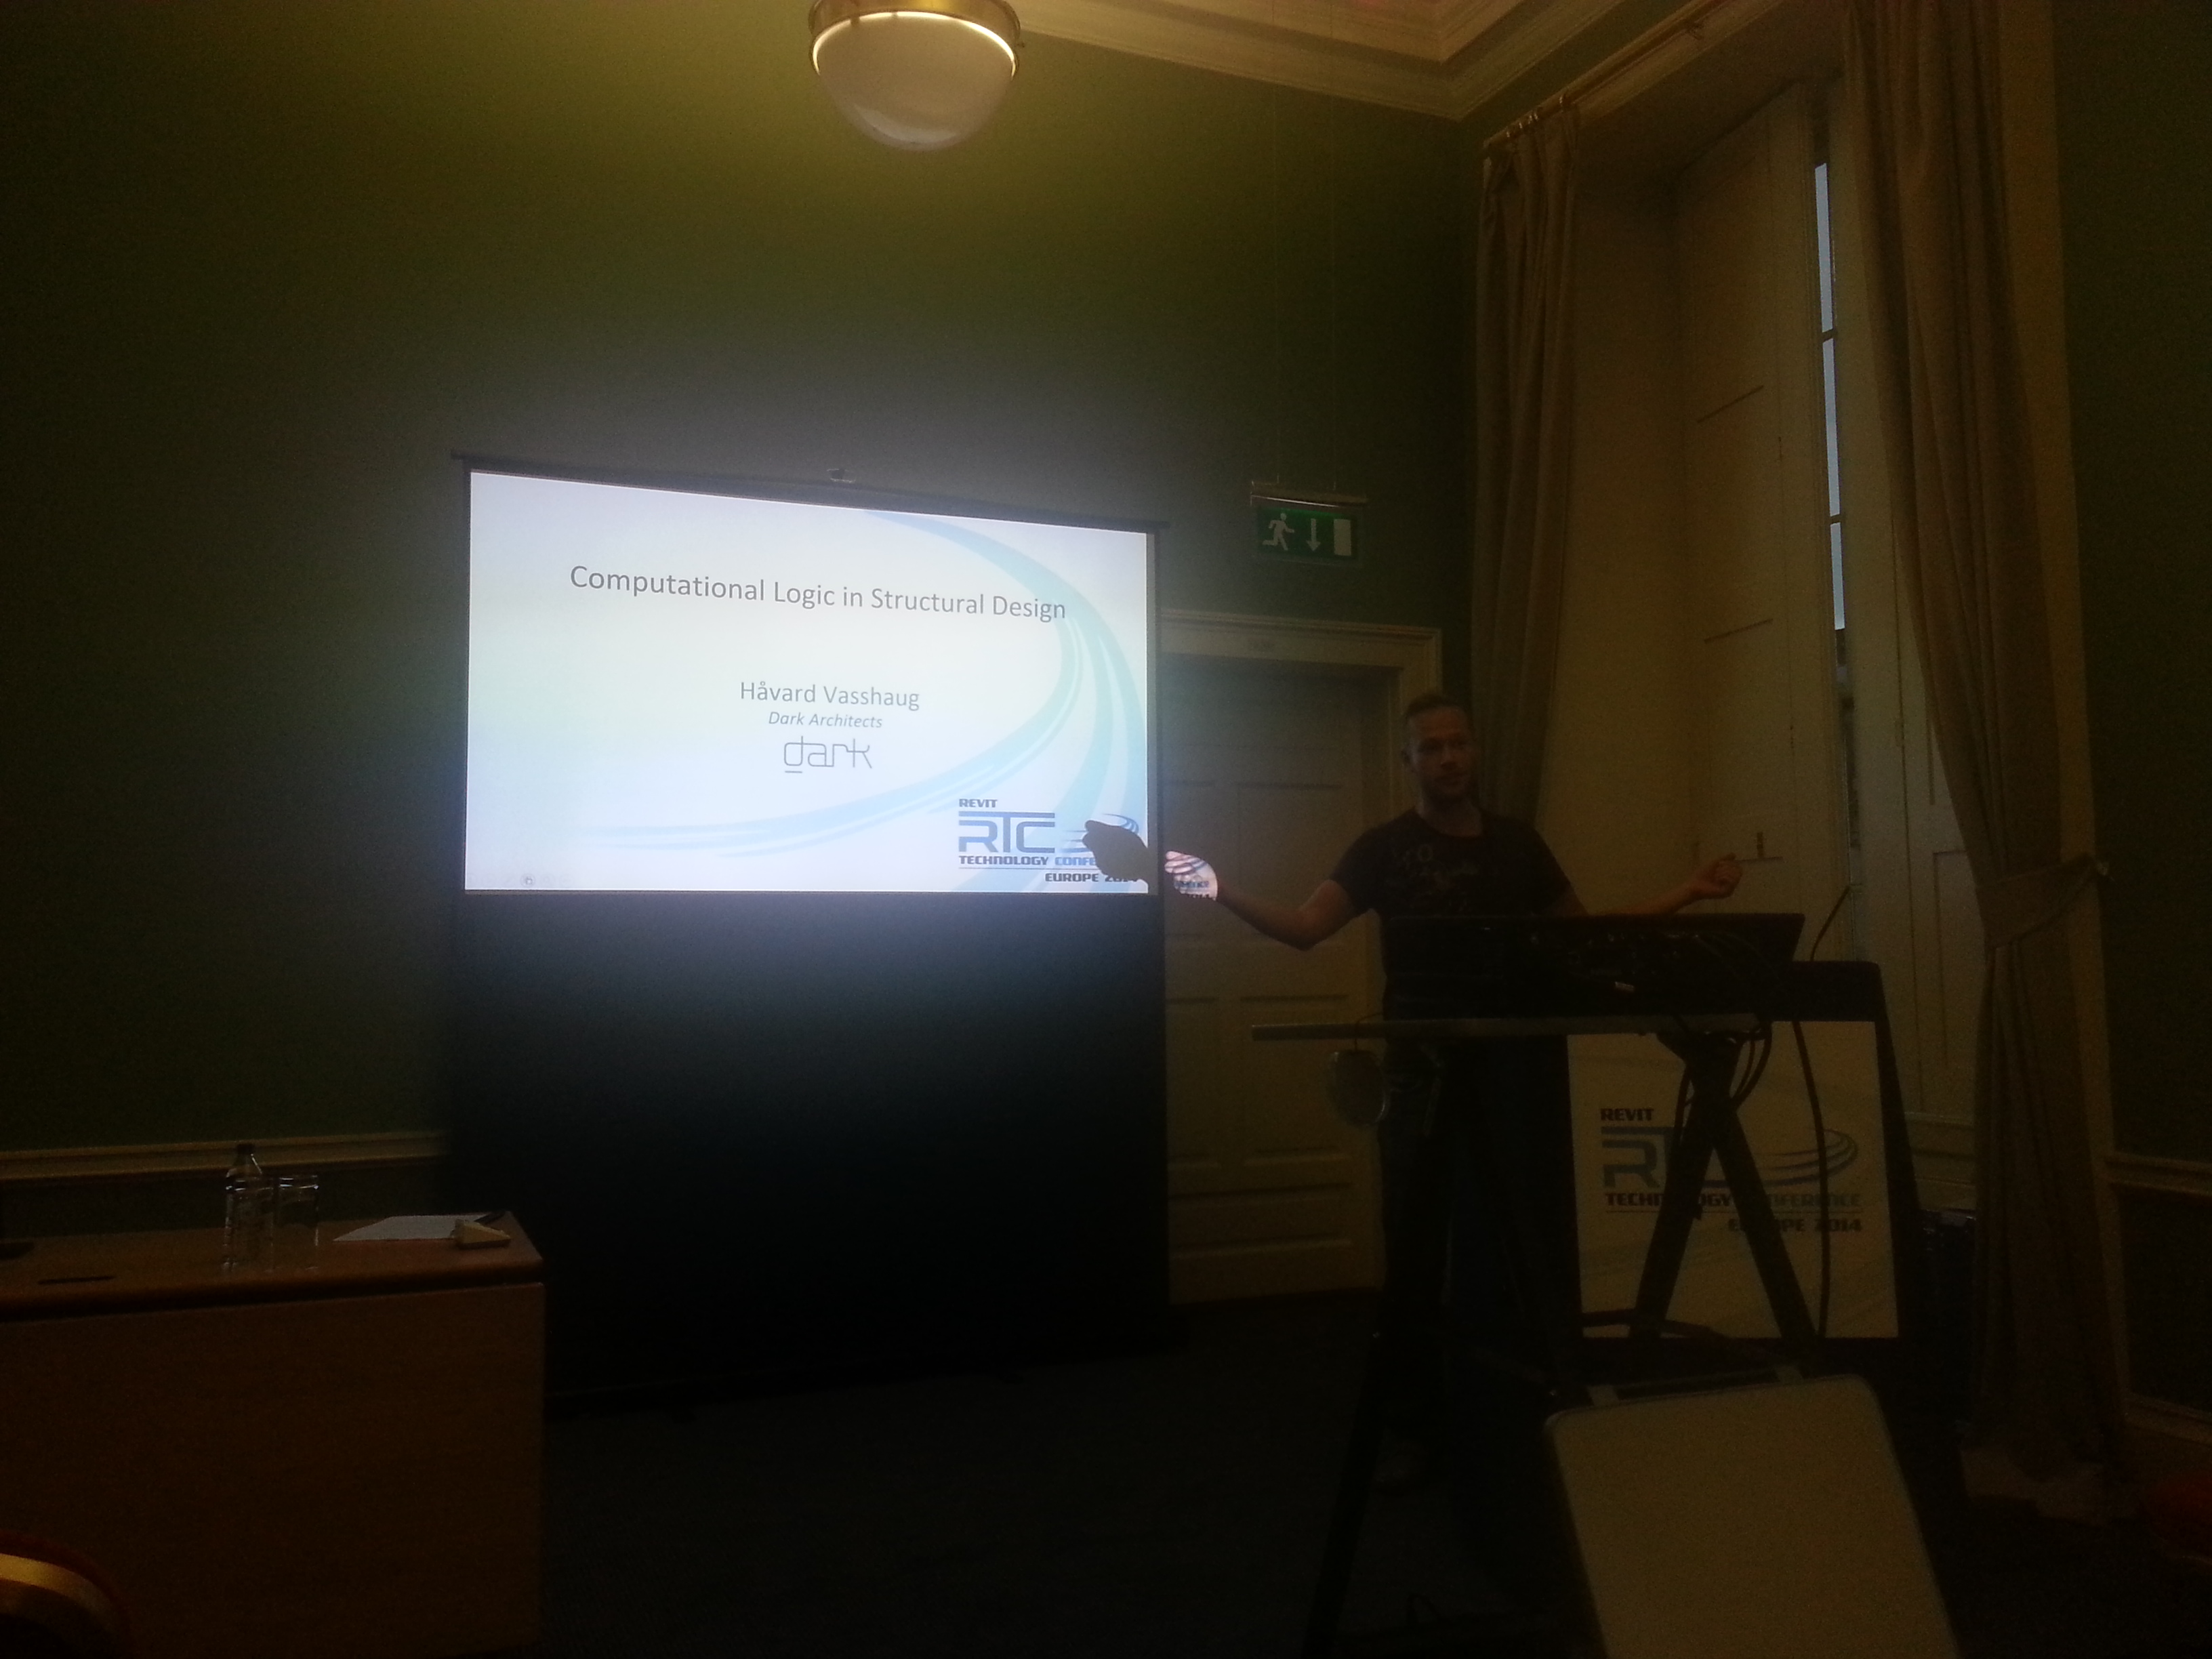
After wrapping up the day with Glorious Gadgets, where they showed new gadgets and technology, first day of RTC officially over. The second day started with Brian Mackey talk about “Every day use of adaptive components”. It’s was a good introduction with some basic tips of how to use it in a regular project, and a good reminder of how useful adaptive components really can be. In these technology conferences it can be almost to much attention to drawingtools and skills, and therefore I really enjoyed the next lecture «The good, bad, and ugly of sharing a design model with the contractor» by Michael Whaley and Josh Lowe. They discussed how the contractors should use the models during the construction phase of a project, and the pros and cons for the different delivery methods they use in the US. And now I want to talk about Dynamo. Håvard Vasshaug started in many ways a RTC marathon of Dynamo sessions this year. And what a great start! My colleague did a live demo, where he builds his formulas and nodes from scratch. It was impressive how much he had time to do in his limited time, but that Dynamo did not crash during his hole session was maybe even more extraordinary:)

g

Håvard Vasshaug from Dark Architects

Andreas Dieckmann, Julien Benoit and Peter Kompolschek did continue with Dynamo labs and sessions through the entire Saturday and they did demonstrate how powerful Dynamo can be in the daily use of Revit. Maybe the most important thing I learned in these sessions is that Dynamo can make my life much easier also with simple tasks. I am thinking about tasks like importing/exporting data to and from an object in Revit, or to extract buildinginformation for object to be placed on sheets etc. You should remember that Dynamo do so much more that only creating complex geometry.

Dynamo lab

Dynamo lab

The RTC committee has arranged another great conference. It was both inspiring and fun, professional and social. The third RTC in Europa will be in Budapest next year, and then I hope to see even more European speakers. I think that would increase the popularity in general and make RTC EUR stand out from the rest of RTC.

Case study #3 Part B: Exterior cladding

Okay, let us talk about the exterior cladding.

type type_3d

It is made of aluminum plates with two different sets of profiles (see picture above). These two different profiled plates are mounted one after the other, and since the module is 2400 mm and the width of every plate is 600 mm, there will be two plates of each type on every module.

position position_3d

Within every module, the aluminum plates are either on the border of the module, towards a window or towards another plate. These three different positions have an impact on how the edges of the two different plates will be (see picture above).

I have made these two profiled plates as two different curtain wall panel families in Revit for various reason. One of the reason is that sometimes the width is less than 600 mm, and then I want to keep either the left or the right side of the curtain wall panel in a fixed position.This will avoid the position of the profiled plates from shifting from each other (this is illustrated in the video).

plate_2

The two curtain wall panels is basically made in the same way that I demonstrated in «Family training#1 -CWpanel with array» but in a slightly more complex way. The reason that I can’t do it in the same way, is that I need this family to be 100 % accurate due to production. I can’t simply divide the width of the curtain wall panel with the width of the profiles since this will be to inaccurate. Therefore I have added a little new flavor into the family, and that is a couple of «IF» statements and a profile that can varies between the profile closest to the curtain wall grid (see picture above).

count

In this way I can simply make a schedule that counts every family and types, combined with height and width parameter, and voilà. You are close to production.  

Case Study#3 Part A: A modular facade in Revit

F16_B

We are working on a project where the facade will be a prefabricated modular facade, where the  modules will arrive at the construction yard ready to be mounted on to the slabs. Since the modules contains everything from exterior cladding, exterior shading,  insulation, interior wall cladding, there will be no need to do anything more with the facade after every module have been mounted.

The reduced construction time at the construction yard is one of the reason it is getting more and more popular with prefabricated modular facades. It is also getting increasingly popular because of reduced cost and increased precision.

Modul_akso_oppbygning

There are many ways of modeling a modular facade in Revit, and it varies from project to project. In this project I have used a lot of Curtain Walls and Groups, which has some pros and cons. I will divide this Case Studie in multiple parts, where this part will cover the general principles of model with groups.

konsept

 The width of each module is 2400 mm and the height is in 3800 mm. This will give the facade a modular grid. You should try to have as few types of modules as possible since the amount of different modules usually will have a cost effect. Sometimes you have to balance the amount of different types of modules with the amount of flexibility. But not always. This is specially important in the early stages of the project, because if you can’t keep it simple in the start you may end up with a to «complex» end result.

FN16_moduler

Every module type is one group. so if you have 10 different types of modules you will have 10 different types of groups. Some tips using groups:

  • Keep the amount of groups down to a minimum. The illustration above shows you that in the finale phase of your project, you will have many different groups. . The more groups you have, the more you have to maintain. BUT, you should never stop doing what you want to do with your project because you don’t want to make more groups…
  • Group origin. One of great thing of using groups, is that you can change one group with another to test different concepts. To be able to do this, every group has to have the same group origin
  • Disallow join. The groups are going to be stacked together, and you don’t want your walls within a group to  magically join with the neighbor group. Therefor,disallow join as much as possible
  • How to keep track of your groups. Check this blog to get you started: http://autodesk-revit.blogspot.no/2013/05/scheduling-apartments.html. It’s not a perfect solution but it works

Modul_akso

Modul_C_utsnitt

In this facade I almost only uses Curtain Walls with different Curtain Wall Panels and Mullions. I will explain this in depth in my next blog post.

Modul_C

Remember, all the hard work you are using modeling your facade in 3D, you will be able to harvest directly from your model to production drawings. And that is a great feeling!

Stay tuned for part 2!

Case Study#2: An inclined elevator and a stairway to heaven

nattFraVei_4k_01

DNB’s new headquarter consist of three buildings with a underground story that connects the buildings together. The building to the far west is designed by Dark Architects, and since the shape of the building i like a stair, it is not a strait forward answer how to make the internal flow efficient with minimum amount of cores. There is also a public roof and a restaurant on the top of the building, so in addition to find the best solution for the many employees in the building, we also had to work out how we could bring the many guests to the spectacular view from the public roof.

The solution was an inclined public elevator that is more than 110 meters long that only stops at ground floor and the top floor, and along the elevator shaft there is a strait stair that connects all the floors in the building.   This stair has many names such as «Stairways to heaven» and recently there has been a competition who can be the fastest up all the 303 treads (http://www.dn.no/dnaktiv/2014/05/09/Lping/303-trappetrinn-p-54-sekunder).

1.skråheis_Page_02

The design process was a joyful ride. When a horizontal slab meets an inclined slab, there will always be some interesting discussion. In addition will the angel of the inclined elevator have direct impact on how the stair will be, since everything is dependent on each other. To feed the project with valuable drawings, I had great success to combine regular floor plans / sections together with isometrics 3D views.

1.skråheis_Page_03

1.skråheis_Page_06

In this project we started using ebeam, and we found it very useful in many meetings and discussions. Suddenly everybody could draw something that everybody could see and participate in.

1.skråheis_Page_15


A photo from the construction phase:

1.skråheis_Page_21


And this is the final results:


skråheis_ned


Please read more about the project:

http://darkarkitekter.no/en/#/projects/dnb-bygg-c

skråheis_ute


Case Study#1: Façade casettes

DNB’s new headquarter consist of three buildings with a underground story that connects the buildings together. The building to the far west is designed by Dark Architects, and the concept for the facade was to give it a heavy and solid expression. We did this by playing with different depths and by using a black granite as the facade material. DnB Vestbygget - Jiri Havran - (6)


The sizes of each cassettes is 900mm x 900mm and they are made by gluing 4 mm granite to an aluminium honeycomb system. In total we have more than 6100 cassettes with more than 350 different types. If we are only counting the types there are more than 10 cassettes, we are down to only 25 different cassettes types. With these 25 different types, we cover more than 90% of the facade. 2.naturstein_Page_02   2.naturstein_Page_06 To stack all the different cassettes the way we wanted, we tagged all the cassettes on the production drawing. Since they were going to start mounting from the left of the building, we also added which container every cassette should be shipped in. This to make it more efficient on the construction site. 2.naturstein_Page_10  
Every cassettes is drawn in 3D so we were in total control of the details.2.naturstein_Page_082.naturstein_Page_09


Take a look at the Youtube video below:

Read more about the project:

http://darkarkitekter.no/en/#/projects/dnb-bygg-c

Dark.Barcode21

Family training#2 -CWpanel and to be in contol of the directions

I have really been puzzled about how Revit are defining direction of a CWpanel. Yes, when you have a CW the direction is easy. Up is up, and down is down. But what about glazed roof. How can i control the direction of the panels? This is really essential in many occasions.

I think I have started understanding it but I actually not very happy with the answer.

Lets use the CWpanel from the previous panel as an example. I have made two different CWpanel where the only difference is the direction of the profiles («Vertical planja 70″ and Horizontal planja 70»).

Screenshot 2014-06-11 14.22.58

I then insert the «Vertical» panels into i Sloped Glazing that is completely flat.


Screenshot 2014-06-11 14.36.12


Since it is a flat Glazing there is no up and down, and therefor the direction of the panel is not determined to any elevation. So how can I know how Revit will place the Curtain Panel within the CW?

Well, if you notice the ViewCube you will notice there is an «UP» and as far as I know this will be the «UP» as well for the panel.

Capture

Lets say you want to rotate your panel 90 degrees . The only way you really do that is to replace your vertical panel with the Horisontal panel. If you try to rotate the angle with Grid 2, you will notice that you maximum can rotate the angle by 89 degrees.

Screenshot 2014-06-11 14.35.53


Okay, what happens if I now make a slope on my Sloped Glazed roof? I keep my «Horizontal» panel and add a sloped arrow in sketch mode.

Screenshot 2014-06-11 14.36.51

I will then get a error «can’t make type «Horisontal_…», so I have to replace the panel and then replace the Horisontal panel once again. The thing you notice is that the panel now have rotated 90 degrees.

Screenshot 2014-06-11 14.37.53

The only way to rotate the panel to the right position now is to replace the Horizontal panel with the Vertical panel.

Screenshot 2014-06-11 14.38.07

The conclusion is obvious. When there is no slope, the ViewCube is driving its direction. But when you have a sloped roof, the elevation overriding the ViewCube. This is maybe not a surprise, but it is kind of frustrating when you have to make two different panels, horizontal and vertical, to be able to rotate the panel 90 degrees. It is after all the same type of plate.

In addition, have you ever tried to mirror a Sloped Glazing? Or a Curtain Wall? The inside/outside will be rotated as well…

Screenshot 2014-06-11 14.39.09